
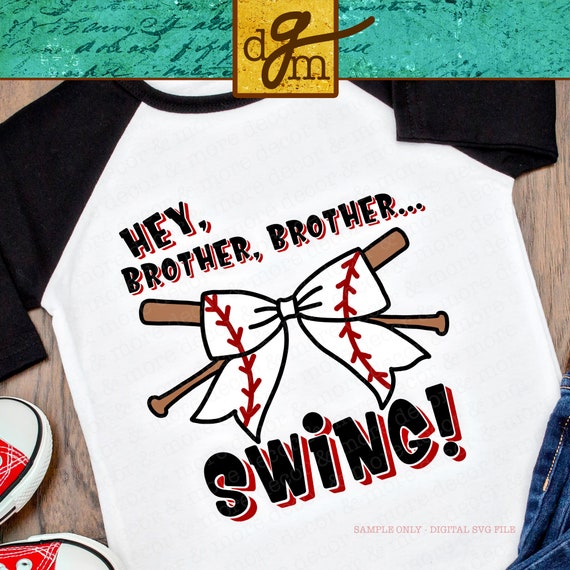
Getting Started on this Baseball Sister Shirt
So, my daughter started nagging me. You know how kids get. Her brother’s got his baseball season going, and suddenly, she absolutely had to have a “Baseball Sister” shirt. We looked around, but everything was either too plain or cost an arm and a leg. I figured, hey, I can probably just make one. Famous last words, as usual when I get these bright ideas.
The Whole Process: From Idea to Actual Shirt
First thing, I had to rummage through my craft stash. I found a plain t-shirt I’d bought on sale ages ago, thinking it would come in handy. And well, today was the day. It was just a basic white cotton tee, perfect for what I had in mind. Then, the design part. That took a good chunk of my afternoon. I messed around on my old laptop, trying to get the lettering to look decent. Not too cutesy, you know, but still fun. My design program was being a real pain, naturally. It always seems to act up when I actually need it to work smoothly.
I finally decided on a pretty straightforward block letter style, maybe with a little baseball image next to it. Nothing too complicated because, honestly, I’m not a pro. I printed the design onto some iron-on transfer paper I had lying around. You know the stuff – it always says “easy to use” on the package, but it rarely is. Cutting out all those individual letters and the little baseball graphic took way longer than I expected. My scissors are probably getting dull; I should really get a new pair.
Then came the moment of truth: the ironing. This is usually where my projects either shine or, more often, go completely wrong. I spread out the shirt on the ironing board, carefully arranged the letters – “BASEBALL” across the top, and “SISTER” right below it. I must have checked it a dozen times to make sure it was centered and straight. You really only get one chance with these iron-on things. I pressed down hard with the hot iron, trying to follow the instructions on the transfer paper packet, which, if I’m honest, I probably just skimmed. Then, I peeled off the backing paper really, really slowly. A couple of the edges looked like they hadn’t quite stuck, so I went over them again with the iron, just for good measure. You can never be too careful, or so I tell myself.
So, Was It All Worth the Effort?
Let me tell you, these DIY things, they always seem like a good idea at the start. You think, “Oh, this’ll be quick, save me some money.” And then, bam, you’re three hours deep, your back hurts from hunching over, and you’re questioning your life choices. Sometimes, I swear, it’s like that one time I tried to assemble a flat-pack bookshelf. The instructions looked like they were written in another language, and I ended up with an extra handful of screws. It stood up, mostly, but I wouldn’t trust it with anything heavy.
But, you know, when my daughter finally saw the finished shirt, her whole face just lit up. She grabbed it and threw it on immediately. Started parading around the house, showing it off to everyone. So, yeah, I guess in the end, it was worth the hassle. Even though I swore, for the tenth time, that I was done with iron-on projects forever. We all know that’s not true. There’ll be some other “essential” homemade item she needs next week, I’m sure of it.
The shirt actually made it through the first baseball game without any letters peeling off, which I’m counting as a major victory. The real test will be the washing machine, though. That’s always the ultimate decider of DIY success, isn’t it?

