So, I got this idea in my head, right? NFL pool balls. Sounded awesome. I mean, who wouldn’t want a set for their game room? I figured it’d be pretty straightforward to just, you know, buy some.
The Hunt Begins (and Quickly Ends)
First thing I did was hop online. Typed it in. And yeah, stuff came up. But honestly? Most of it looked like junk. You know the type – cheap plastic feel, logos looking like they’d peel off if you looked at them too hard, let alone smack ’em with a cue stick. Some were okay, but the price? astronomical! And for that much, I’d expect ’em to be hand-delivered by a quarterback or something.
I thought, “There’s gotta be a better way.” Or at least, a way I could get something decent without taking out a second mortgage.

The “I’ll Do It Myself” Phase
Then the classic thought hit me: “Hey, maybe I can make my own!” How hard could it be, really? Spoiler: harder than I thought. Way harder.
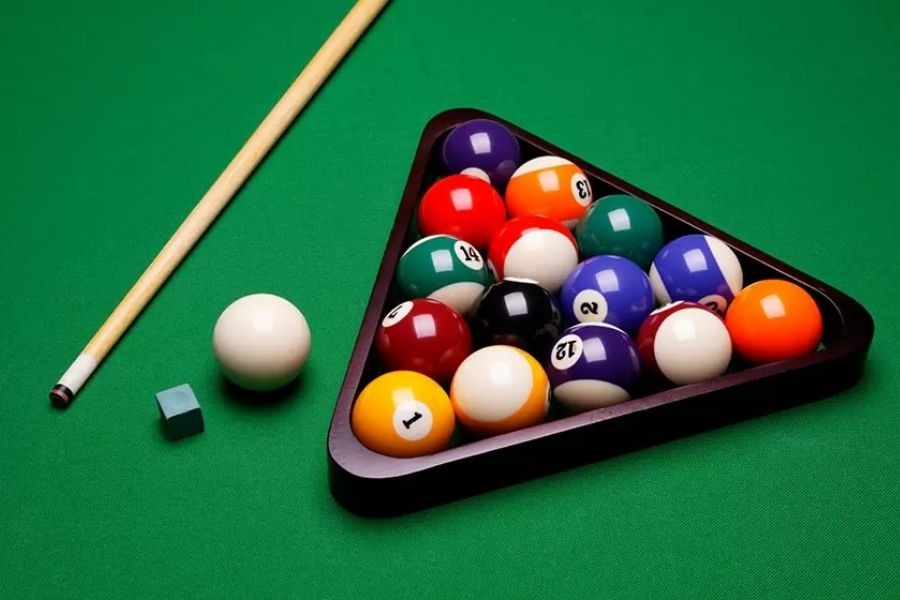
My first step was getting the actual balls. Found a decent set of plain white billiard balls. That part was easy enough. Solid, good weight. Perfect canvas, I thought. Now for the tricky bit – the NFL team logos.
I started digging into how to get images onto a spherical, hard surface that’s going to take a beating.
My journey went something like this:
- Decals: My first bright idea. Ordered some waterslide decal paper. Printed out a few logos. Looked great on the paper. Getting them onto the ball? That was a whole different story. Wrinkles, bubbles, tears. It was a mess. Plus, even if I got one on perfectly, I had serious doubts about durability. One solid break and those logos would be history.
- Painting/Stencils: Okay, what about stencils and some kind of super-tough paint? I even sketched out some ideas. But my artistic skills are, shall we say, ‘limited’. Trying to get a clean, sharp logo with multiple colors on a small, round ball? Yeah, right. I did one test with a simple shape, and it looked like a blob. My wife laughed. Not unkindly, but still.
- Engraving: For a hot second, I actually looked into custom engraving. Then I saw the price of the equipment, or sending them out to be professionally done. Nope. Not for a personal project.
Deep Dive into Methods
I spent hours, and I mean hours, on forums, watching videos. People were doing all sorts of crazy stuff. Some folks were using methods that seemed like they needed a chemistry degree. I just wanted some cool pool balls for game nights, not to start a manufacturing business.
My buddy Dave, he’s a huge Packers fan. His birthday was coming up, and I’d gotten this grand idea to make him a custom Packers cue ball and maybe a few others from his favorite rivals. That was the real push, you see. It wasn’t just for me anymore; there was a deadline, a purpose.
I finally found some info about a specific type of transfer film, often used for irregular surfaces, combined with a really tough clear coat. This seemed like the most promising route. So, I ordered the materials. More waiting. More money spent.
The Actual Process and a Lot of “Oops”
Okay, materials arrived. I carefully printed the logos onto this special film. Had to make sure they were the right size – not too big, not too small. That alone took a few tries with plain paper printouts held up to the balls.
Then came the application. It was finicky. You had to be precise. Wet the ball, slide the film, try to get it smooth and centered. My first few attempts were… well, let’s just say they were learning experiences. Lots of wasted film. Lots of muttering under my breath.
After I finally got a logo on one ball that looked halfway decent, it was time for the clear coat. This was crucial. It had to protect the logo. I did a test ball. Sprayed it on. Let it dry. It looked… okay. A bit cloudy at first, but it cleared up. Victory?
Not so fast. I did a few more. Then, a couple of days later, I noticed one of the first ones I did was starting to get a slightly yellowish tint. Ugh. Wrong type of clear coat, apparently. Not UV resistant enough, or something. Back to the drawing board for the clear coat. More research. Found another one, supposedly tougher and non-yellowing. More money. More waiting.
Finally, Something Resembling Pool Balls
This time, the new clear coat seemed to work better. I developed a little system. Print, cut, soak, apply, smooth, dry. Then carefully apply multiple thin layers of the clear coat, letting each one cure properly. It was slow. Tedious. I’d do a couple of balls an evening.
The whole thing took weeks. My little workshop area was just a mess of balls in various stages of completion, bits of film, spray cans. My wife started calling it “the NFL incubation lab.”

In the end, I got a full set done. Are they perfect, professional-grade NFL pool balls? Absolutely not. If you look closely, some logos are a tiny bit off-center. One or two have a minuscule speck under the clear coat that I just couldn’t get out. But you know what? They look pretty darn good from a foot away. And when you rack ’em up, they look awesome.
I did manage to get Dave’s Packers cue ball done just in time. He loved it. Said it was the best gift ever, though he’s prone to exaggeration.
It’s funny, you see these things, these custom items, and you just assume they’re easy to make or source. But going through the process myself, man, it gives you a new appreciation for the work involved. It’s not always as simple as just clicking “buy now.” Sometimes, the journey to get that thing you want is a whole project in itself. But hey, I learned a lot. And now I’ve got a one-of-a-kind set of NFL pool balls. And a story to tell, obviously.

