Alright, so I got this idea buzzing in my head a while back – a lighted baseball cap. Seemed like a neat little project, maybe even useful for fumbling around in the dark, you know? I figured, how hard could it be? Slap some lights on a hat. Easy peasy.
Getting Started – The Grand Plan (or lack thereof)
My first thought was just to grab some tiny LEDs and a battery and somehow stick ’em onto one of my old caps. I wasn’t aiming for anything fancy, just something functional. I’ve seen those super expensive ones online, and I thought, nah, I can make my own, probably for next to nothing. Famous last words, right?
So, I started by digging through my box of bits and bobs. You know, that drawer everyone has, full of old wires, broken electronics, and stuff you think you’ll use “someday.” Found a few small LEDs, a tiny switch from some old toy, and an old, comfy baseball cap that I didn’t mind potentially ruining. This was gonna be an adventure.
The Actual Work – More Fiddly Than I Thought
Okay, so the first attempt? Total disaster. I tried just hot-gluing the LEDs to the underside of the brim. Looked like a dog’s breakfast, and the wires were a nightmare. Plus, one LED just decided not to work. Typical. Back to the drawing board. I realized I needed a bit more finesse than just brute force and glue.
My main challenge was the wiring. Keeping it neat and out of sight, and also making sure it wouldn’t snag on everything. I decided to try and stitch the wires into the fabric of the cap, running them along the inside seams. This took way longer than I expected. My fingers were pretty sore from poking the needle through the thick material. It was one of those jobs where you get halfway through and wonder why you even started.
I used really thin, insulated wire – the kind you get from old headphone cables. Stripping those tiny wires without breaking them? That’s a test of patience, let me tell you. Soldering the LEDs to these tiny wires, especially getting the polarity right for each one, was another fiddly bit. I definitely had to re-do a couple of connections because they were either loose or I’d bridged something.
Powering It Up and Finishing Touches
For power, I settled on a couple of coin cell batteries. I found a small plastic holder that could take two of them, which gave me enough juice for the little LEDs I was using. I managed to tuck this battery holder into the sweatband at the back of the cap, making a little fabric pocket for it so it wouldn’t just fall out. It’s a bit lumpy back there, but hey, it works.
The switch was mounted on the side, also tucked into a reinforced bit of the sweatband. Had to cut a tiny slit for the actual switch toggle to poke through. That part actually went smoother than I thought.
After what felt like ages of stitching, soldering, and a fair bit of muttering under my breath, it was time for the moment of truth. I popped in the batteries, took a deep breath, and flicked the switch.
The Result – It Actually Works! (Sort Of)
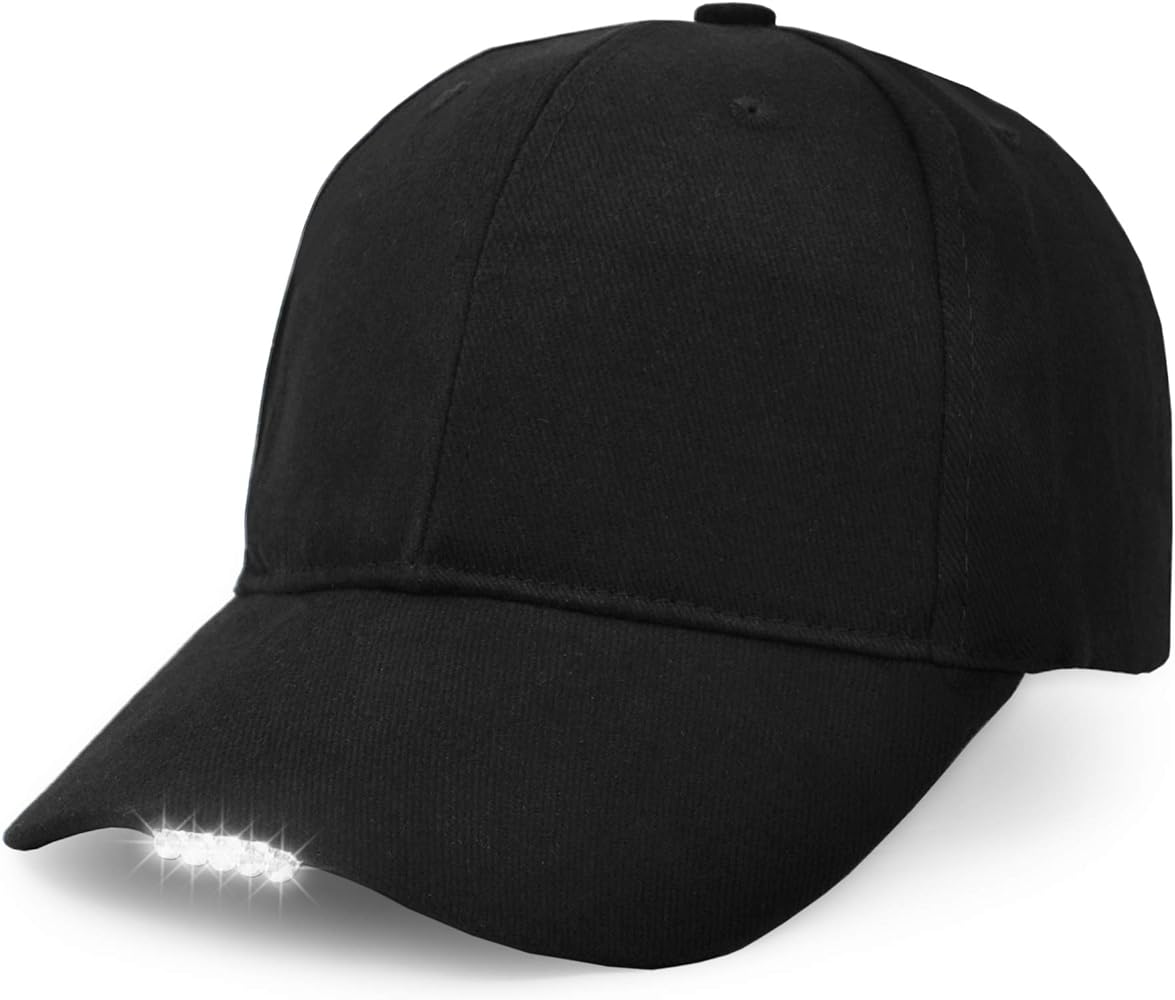
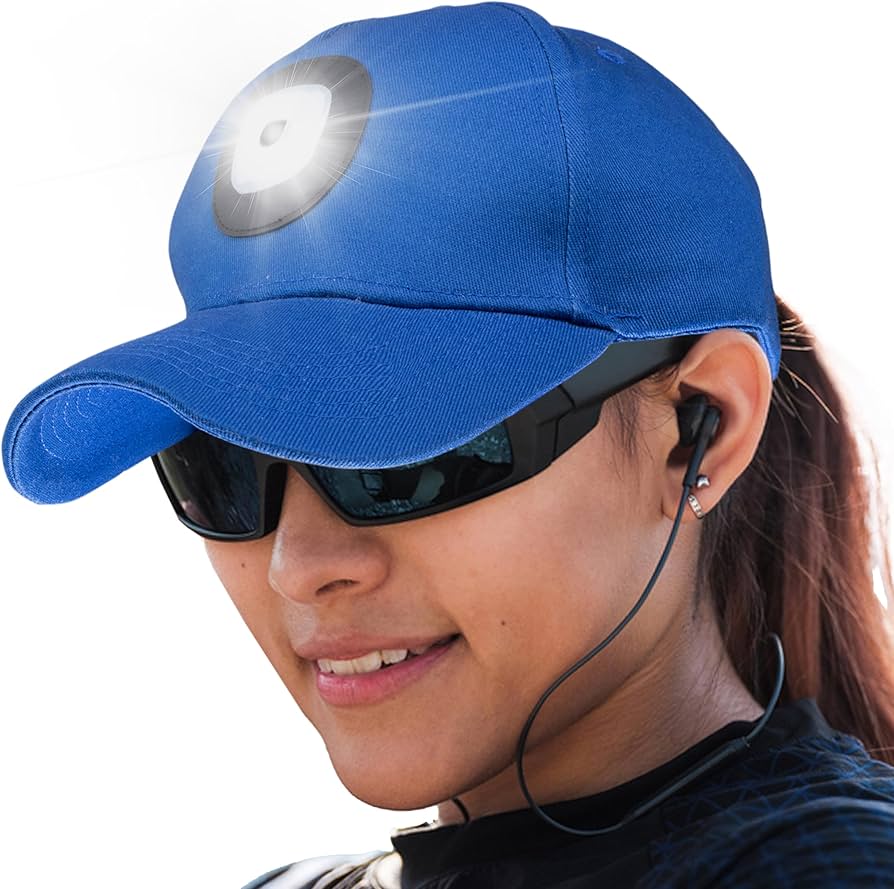
And bam! Light! It wasn’t like a searchlight or anything, but the LEDs under the brim cast a decent enough glow to see where I was walking in the dark, or to find a dropped key. It’s definitely got that homemade look to it, no doubt about that. A bit rough around the edges, you could say.
Is it perfect? Heck no. The light distribution could be better, and I’m pretty sure it wouldn’t survive a rainstorm. But you know what? I made it. From a random idea to a thing that actually works. It’s my creation, quirks and all. And honestly, it’s pretty satisfying to wear it and know I put it together myself, even if it did take more effort than I initially bargained for. Plus, it’s a good way to start a conversation, usually along the lines of “What on earth have you got on your hat?” Makes me chuckle every time.

