
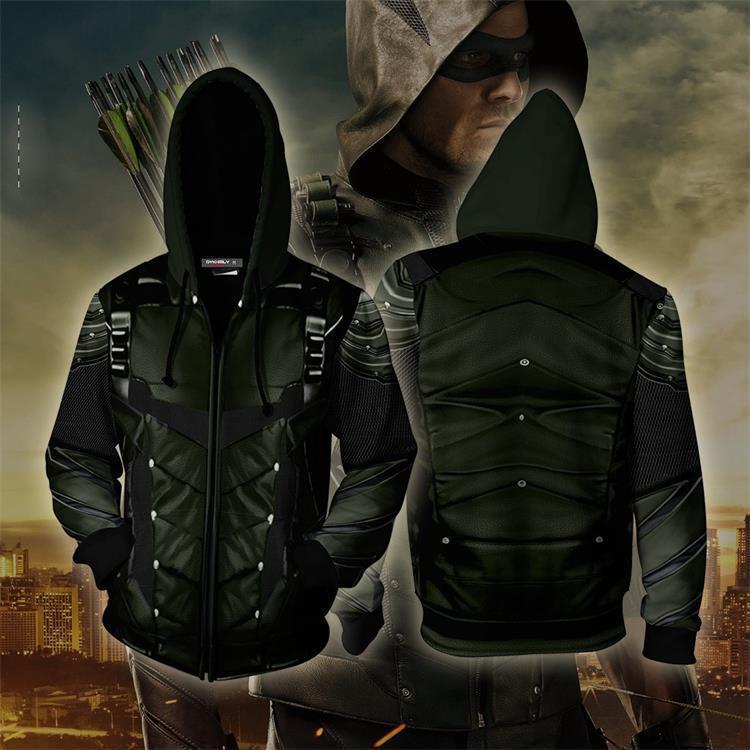
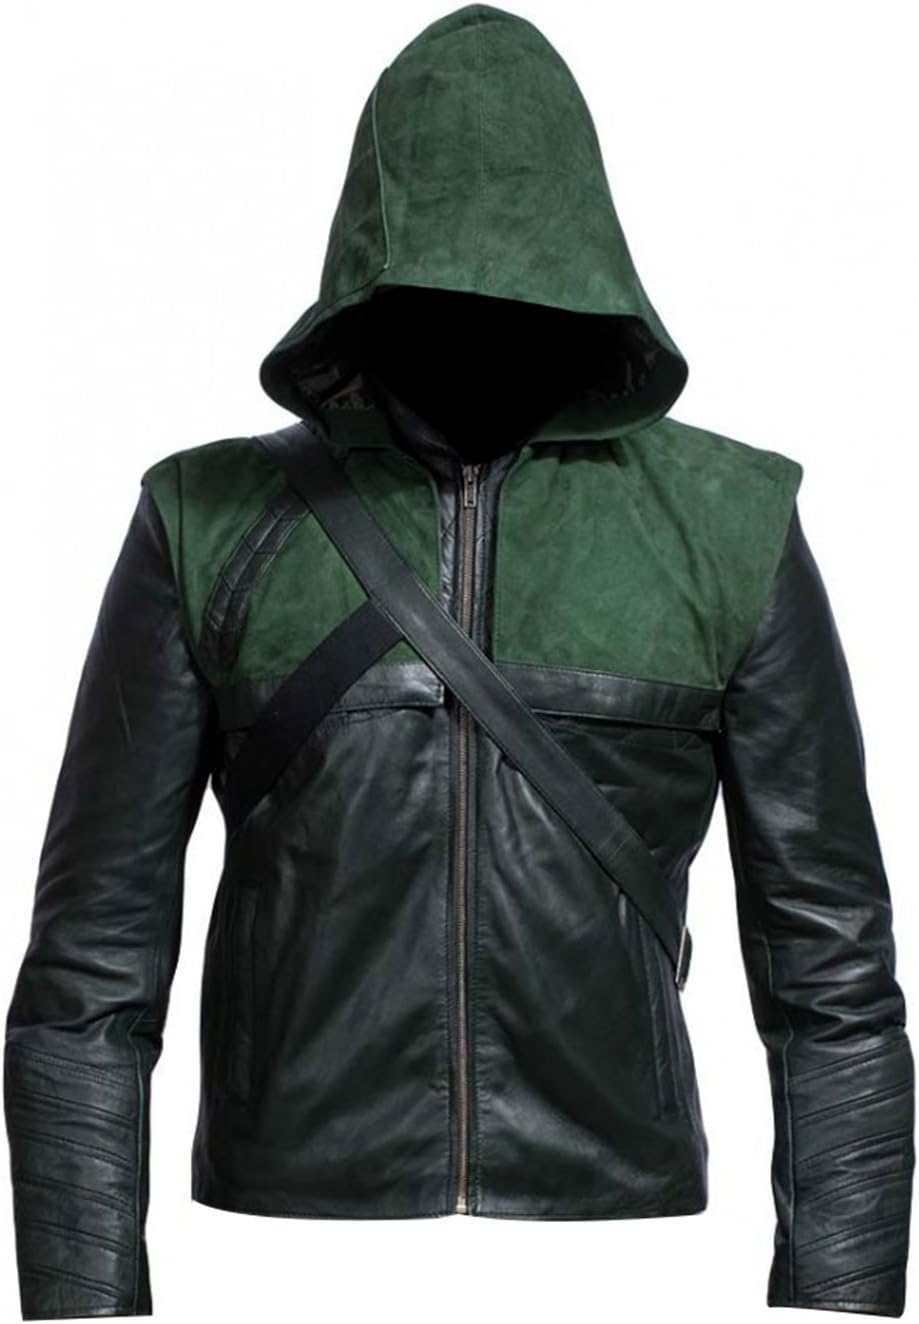
Okay, so I wanted to make this jacket, right? It’s been on my mind for a while. I’m a big fan, you know, of the whole archer vibe. Figured it’d be a cool project to get my hands on.
Getting Started – The Big Idea
So, first things first, I had to actually decide what I was aiming for. There are so many versions out there! I spent a good few evenings just scrolling through pictures online, really trying to get a feel for the look I wanted. I wasn’t going for screen accuracy down to the last stitch, more like something that felt right, you know? Something I could actually wear without looking like I was on my way to a costume party, unless, of course, that was the plan. Comfort was super important for me from the get-go.
I decided pretty early on that I needed a good base. Making a whole jacket from scratch? Nah, not this time. That just sounded like way too much hassle for what I was trying to achieve. I figured I’d find an existing jacket and just modify it. That seemed like the smart play. It would save me a ton of time on the basic construction, which, let’s be honest, is not my strongest suit.
The Hunt for Materials and the Base
Finding the right base jacket turned out to be a bit of a mission. I hit up a few thrift stores first. You can find some real gems there sometimes, hidden amongst all the, well, other stuff. I was looking for something with a decent shape, maybe a hood already attached, but the color didn’t have to be perfect because I had this grand idea about dyeing it. After a few unsuccessful trips, where I found absolutely nothing useful, I actually found a pretty decent, plain zippered hoodie online. It was a boring grey, but the fabric felt good, and it had a nice weight to it, which I liked.
Then, the color. Green, obviously. But what shade of green? That was a whole other debate in my head. I didn’t want it to be too bright, you know, like something out of a cartoon. I was aiming for a more rugged, darker, sort of forest green. I went out and bought some fabric dye. Let me tell you, dyeing fabric can be a bit of a gamble. You follow the instructions on the packet, cross your fingers, and just hope for the best. My first attempt with the dye… well, it came out a bit blotchy. Lesson learned the hard way: stir, stir, and then stir some more! I had to re-dye the whole thing, much more carefully this time, and thankfully, it came out much, much better. A nice, deep green that I was actually happy with.
Putting It All Together – The Fun Part (and the Frustrating Part)
Once the base jacket was the right color, it was time for the modifications. This is where things got interesting, and a bit challenging. I wanted to add some specific details to give it that ‘archer’ look without going completely overboard. I’m not a professional tailor, not by any stretch of the imagination, so my sewing skills are, let’s say, functional. I have an old sewing machine that my mom gave me years ago. It’s a trooper, that machine, but sometimes it definitely has a mind of its own and decides to fight me.
Here’s roughly what I did, or at least tried to do:
- I wanted to change the hood a bit, make it a bit more pointed, give it a more mysterious kind of vibe. I carefully unpicked some of the existing seams and then re-shaped it. This took a lot of pinning and re-pinning, and looking at it from every angle.
- I got some faux leather material, a dark brown, to add some accents. I thought about adding some patches on the shoulders and maybe the elbows. Cutting that stuff was okay, but sewing it onto the stretchier hoodie fabric was a real pain in the neck. My needle broke. Twice. Super frustrating, I tell you.
- I also decided to add some lacing details on the sides, just for looks, really. I punched some eyelets in – that was surprisingly satisfying, using that little tool. Then I threaded some leather cord through them. Looked pretty neat.
- The zipper needed to be less… generic. The original one was just too plain. I found a slightly chunkier, darker zipper online and decided to swap it out. That involved more unpicking and very careful sewing. I really took my time with that because a wonky zipper just ruins the whole look of a jacket.
There were definitely moments during all this where I thought, “What have I gotten myself into?” Especially when I realized I’d sewn a piece on completely backwards. Had to get out the seam ripper, which is my least favorite tool in the world because it basically just screams “You messed up!” But, you know, you just gotta take a deep breath and push through it.
The Final Reveal (to Myself, Mostly)
After a few evenings of tinkering, sewing, and a bit of quiet (and sometimes not-so-quiet) swearing under my breath, it was finally done. I tried it on, and you know what? It actually looked pretty cool! It wasn’t perfect, not by a long shot. If a professional tailor looked at it, they’d probably see all my amateur mistakes plain as day. But it was mine. I made it with my own two hands.
It’s comfortable, it’s the right color (finally!), and it has those little details that make it feel special to me. It’s not something I’d wear to a formal dinner, obviously, but for casual outings, or just for feeling a bit like a hero while I’m out getting groceries, it’s perfect. I learned a lot during the process, mostly about patience and how incredibly important it is to have a sharp needle. And also that sometimes, “good enough” is actually pretty great when it’s a project you poured your own time and effort into. I’m pretty proud of how it turned out, even with all its little imperfections. It’s got character, that’s what I tell myself. And that’s what matters, right?

