
Alright, so I had this idea kicking around in my head for a bit – a golf ball ring. Sounds kinda weird, right? But I’m always tinkering with stuff, and I had a few old golf balls just sitting there, collecting dust. Figured, why not give it a shot? It’s not like I was gonna use ‘em for an actual game of golf anytime soon, ha!
Getting Started – The “Plan”
So, the first thing was actually grabbing a ball. I picked one that looked pretty beat up, you know, so if I messed it up, no big deal. My “plan,” if you can call it that, was pretty simple: cut a slice, drill a hole, sand it down. Easy peasy, or so I thought.
I gathered my tools. Had my trusty Dremel, some sandpaper in different grits, a drill, and, most importantly, my safety goggles. Don’t wanna be getting bits of golf ball in my eyes, no sir.
The Messy Middle Part
Okay, cutting the golf ball. This was tougher than I expected. Those things are surprisingly resilient! My first attempt was to just, like, try and saw a chunk off. That didn’t go so well. The ball just wanted to roll everywhere, and my cut was all over the place.
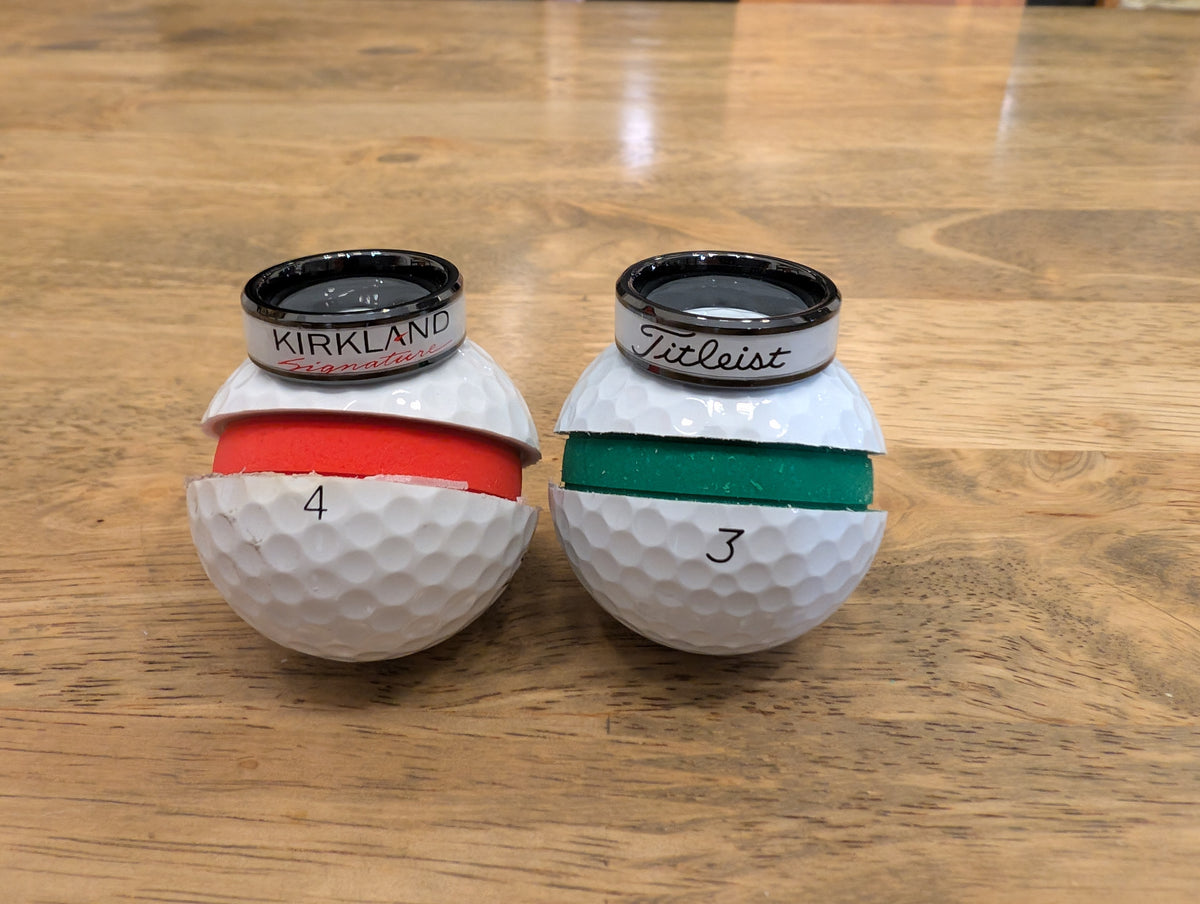
Then I remembered the Dremel. Clamped the ball down – well, tried to, it’s round, you know? Got it steady enough. Fired up the Dremel with a cutting wheel. Sparks flew, a bit of a smell, but I managed to get a rough slice, maybe about half an inch thick. It wasn’t pretty, let me tell ya.
Next up, the finger hole. I measured my finger, then kind of eyeballed the center of the golf ball slice. Started with a small drill bit, then worked my way up. You gotta go slow here. I nearly cracked the whole thing a couple of times. The inside of a golf ball is interesting, too. Different layers of stuff. The core is kinda rubbery.
Sanding, Sanding, and More Sanding
Once I had a hole that roughly fit my finger, the thing looked like something a caveman would wear. Edges were sharp, surface was all chewed up from the cutting and drilling. So, out came the sandpaper.
- Started with a really coarse grit to knock down the major bumps and try to even out the thickness.
- Then moved to a medium grit to smooth it out a bit more.
- Finally, used some fine grit to get it as smooth as I could.
This part took ages. Just sitting there, sanding away. My fingers were tired, but I could see it starting to look like an actual ring. I focused on rounding off the edges, both inside and out, so it wouldn’t be uncomfortable to wear.
The “Final” Product (Sort Of)
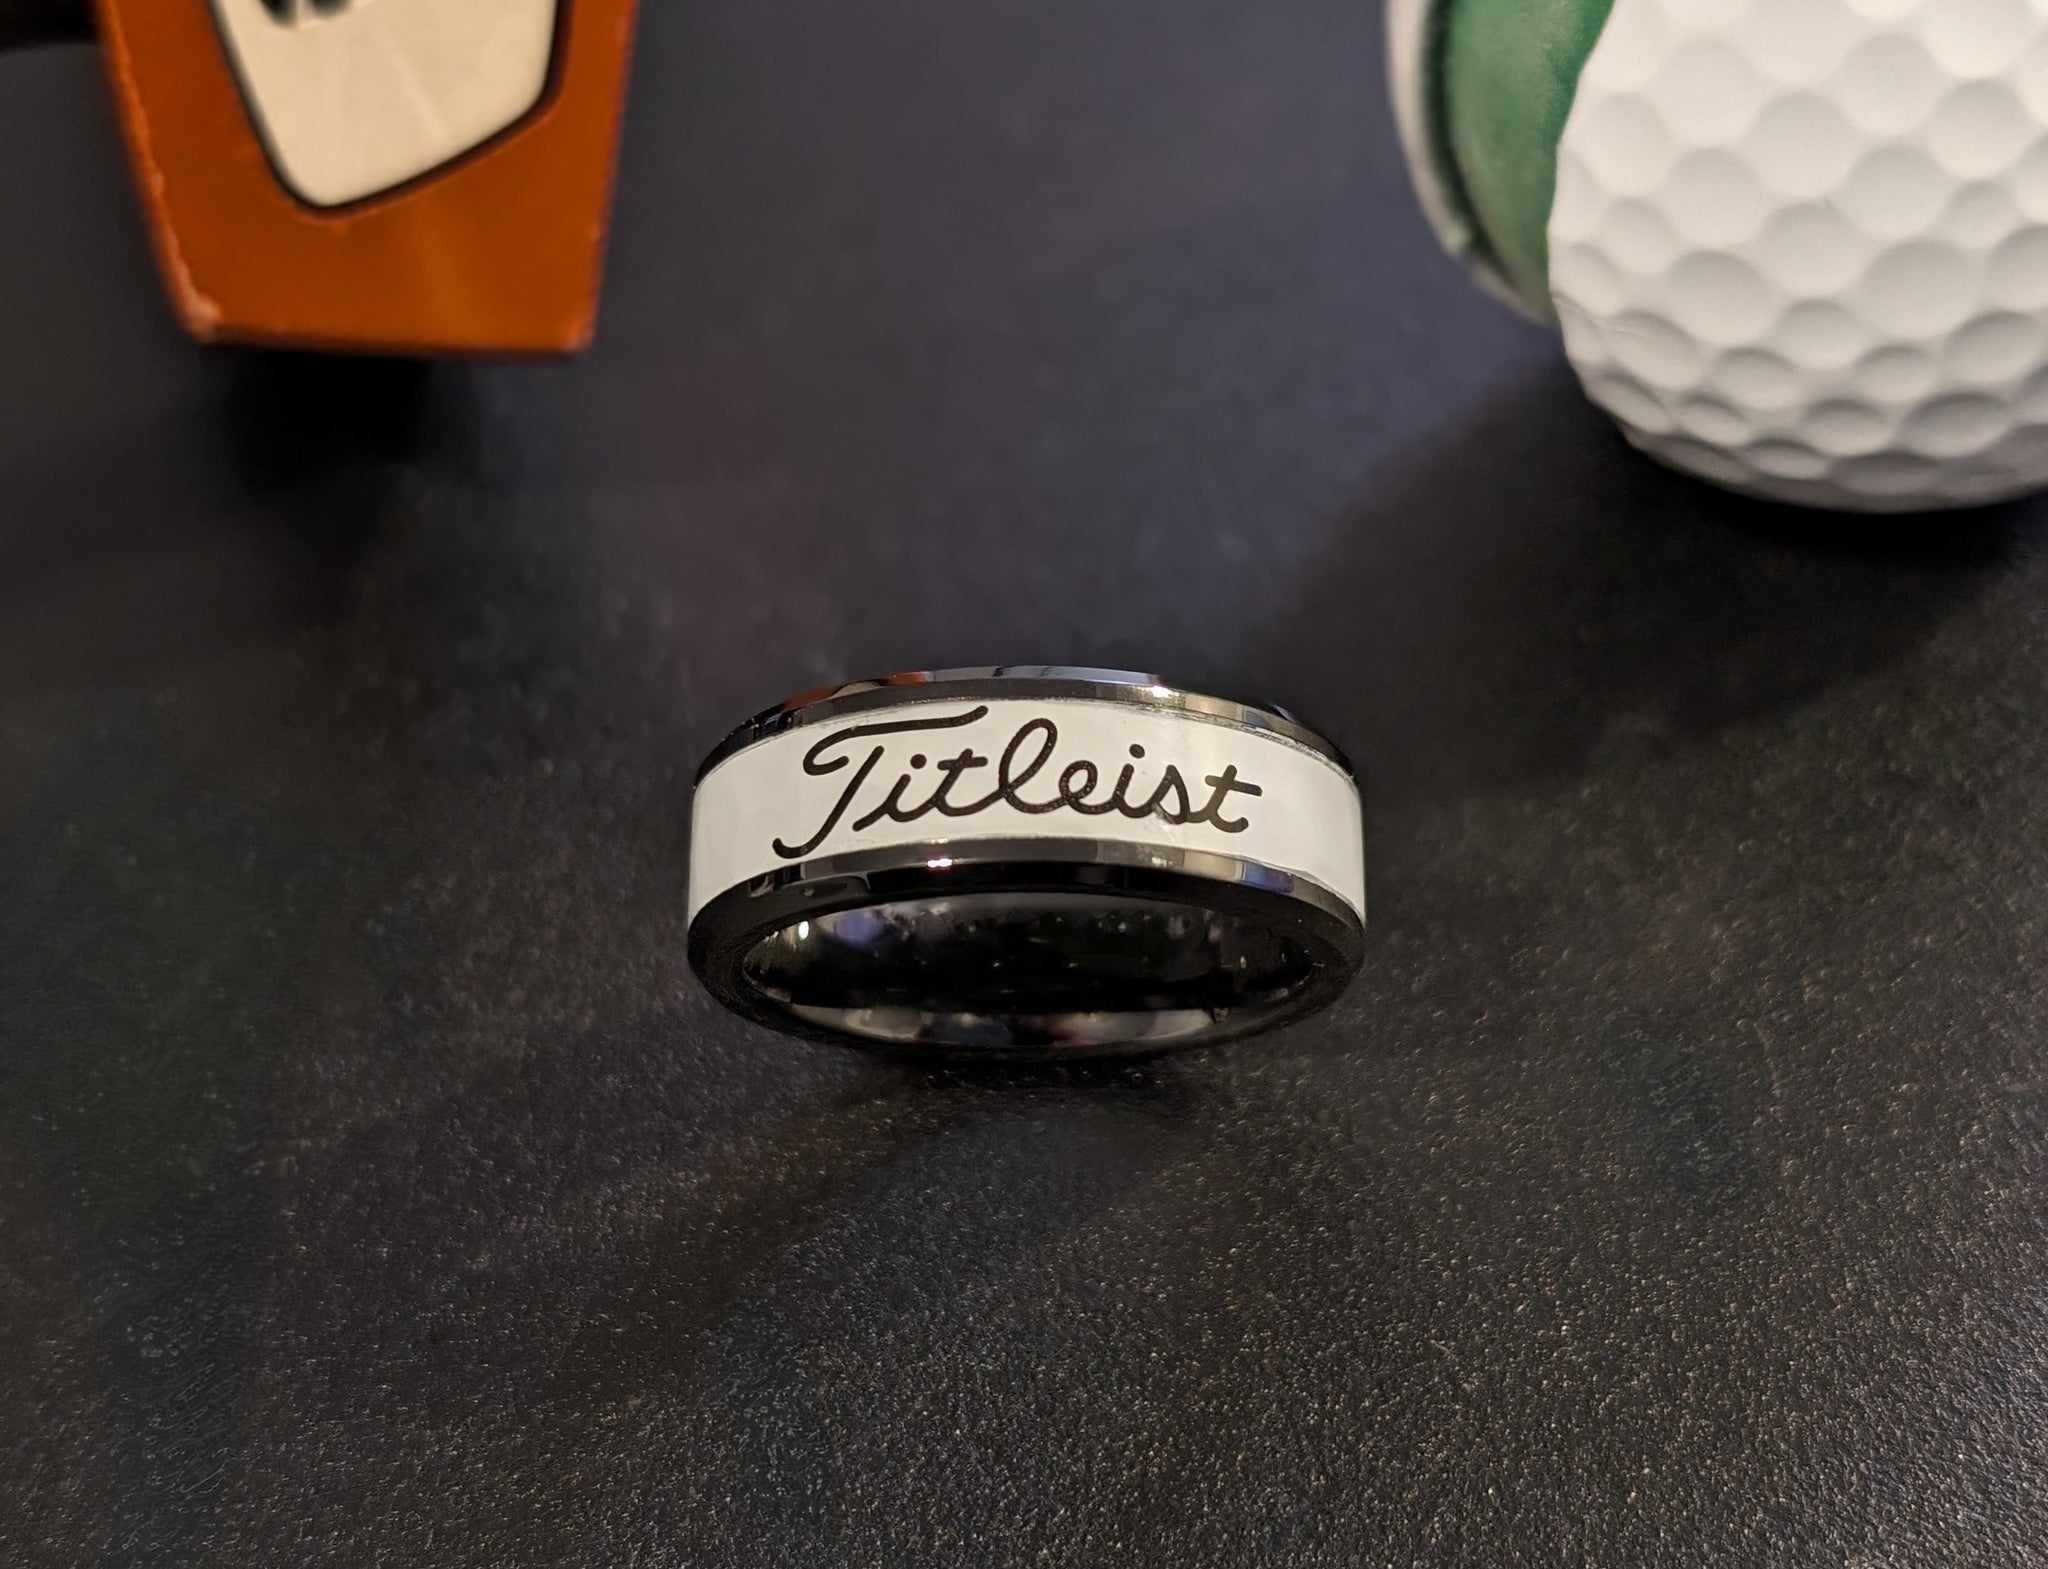
After what felt like forever, I had something that resembled a ring. It’s definitely not perfect. It’s a bit chunky, a little uneven if you look real close. But hey, it’s made from a golf ball! I rinsed off all the dust, and there it was.
It’s got character, that’s for sure. It’s not something you’d buy in a store, but it’s unique. I haven’t put any finish on it or anything. Kinda like the raw look of the dimples on the outside and the layered material on the cut edges.
Overall, it was a fun little project. Learned that golf balls are built like tiny tanks. And that sometimes, the simplest ideas can lead to a good bit of workshop time. Would I do it again? Maybe. I’ve got a few more of those old balls lying around. Could try for a thinner one next time, or maybe even try to paint it. Who knows?

